Onboarding
Purchasing a Product
- Navigate through a product listing such as the shop page
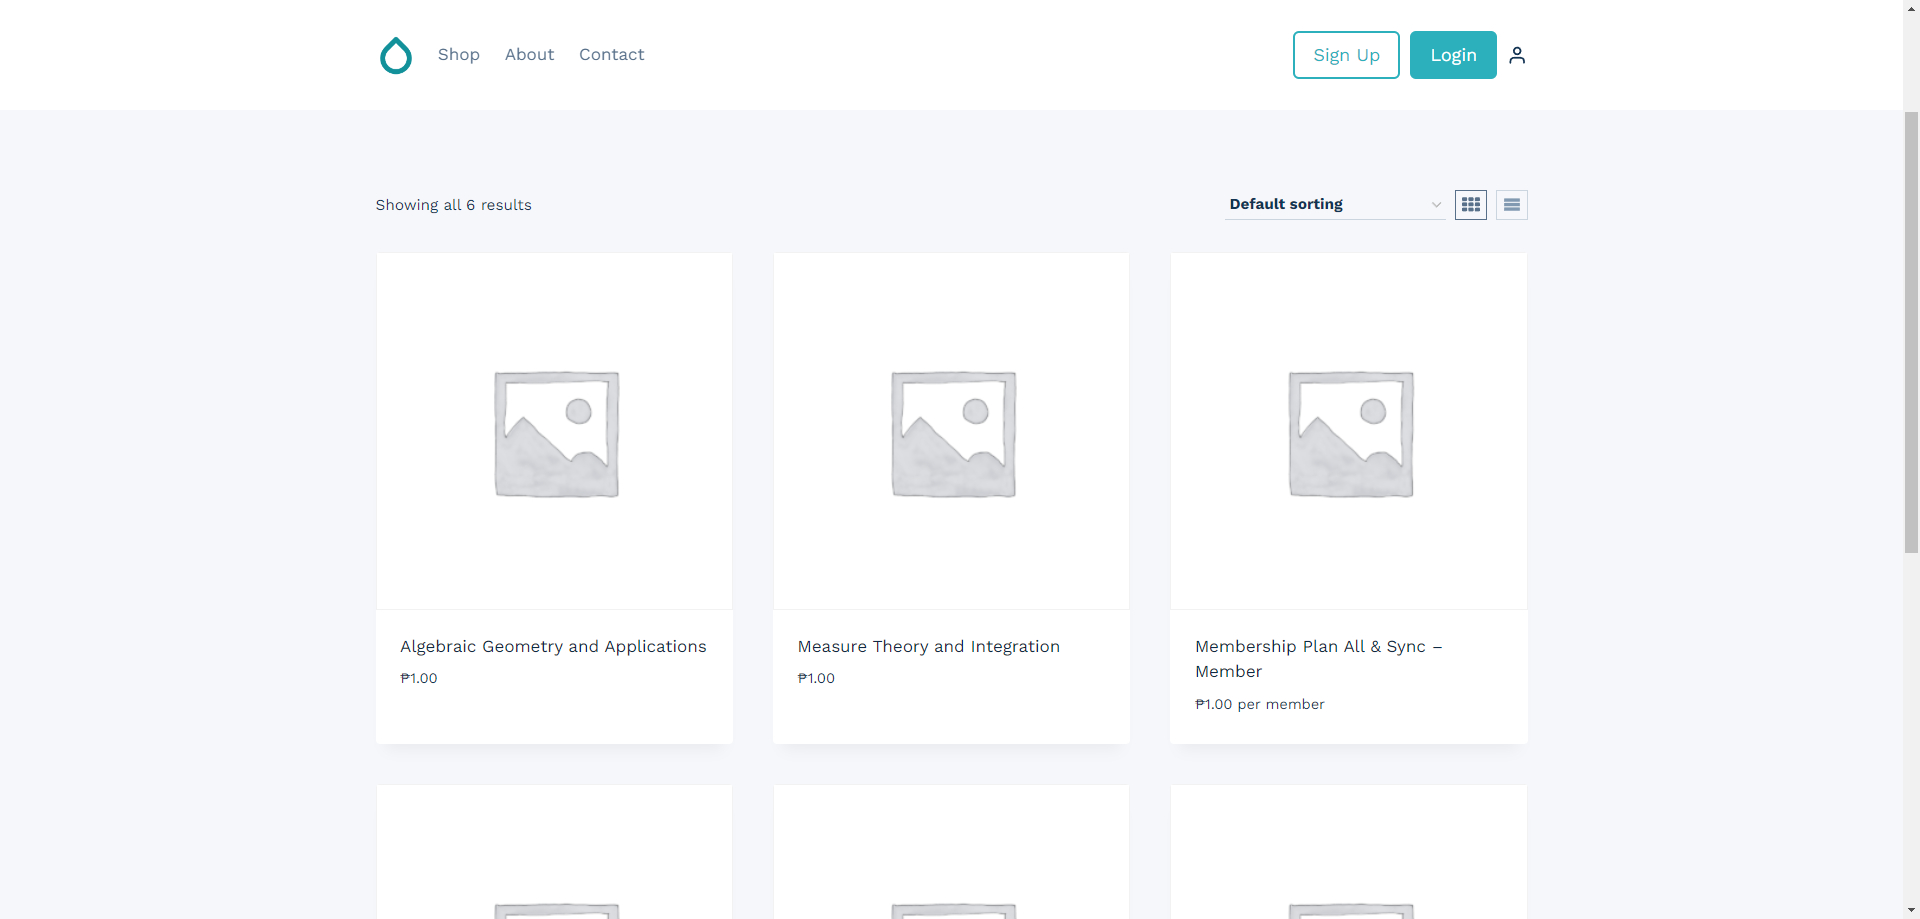
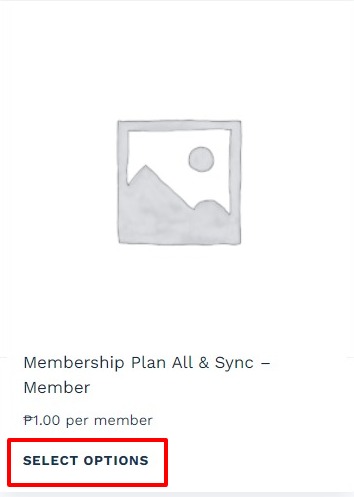
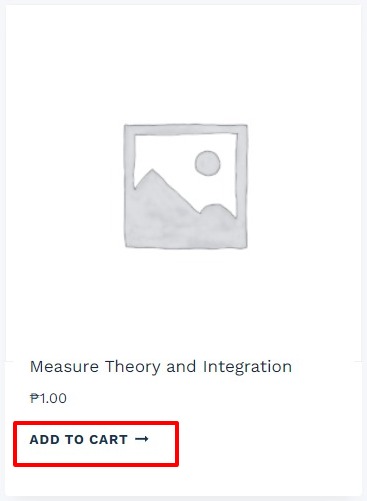
- Choose a membership product. Membership product can be differentiated from a regular or single product by having a "Select Options" instead of "Add to Cart".
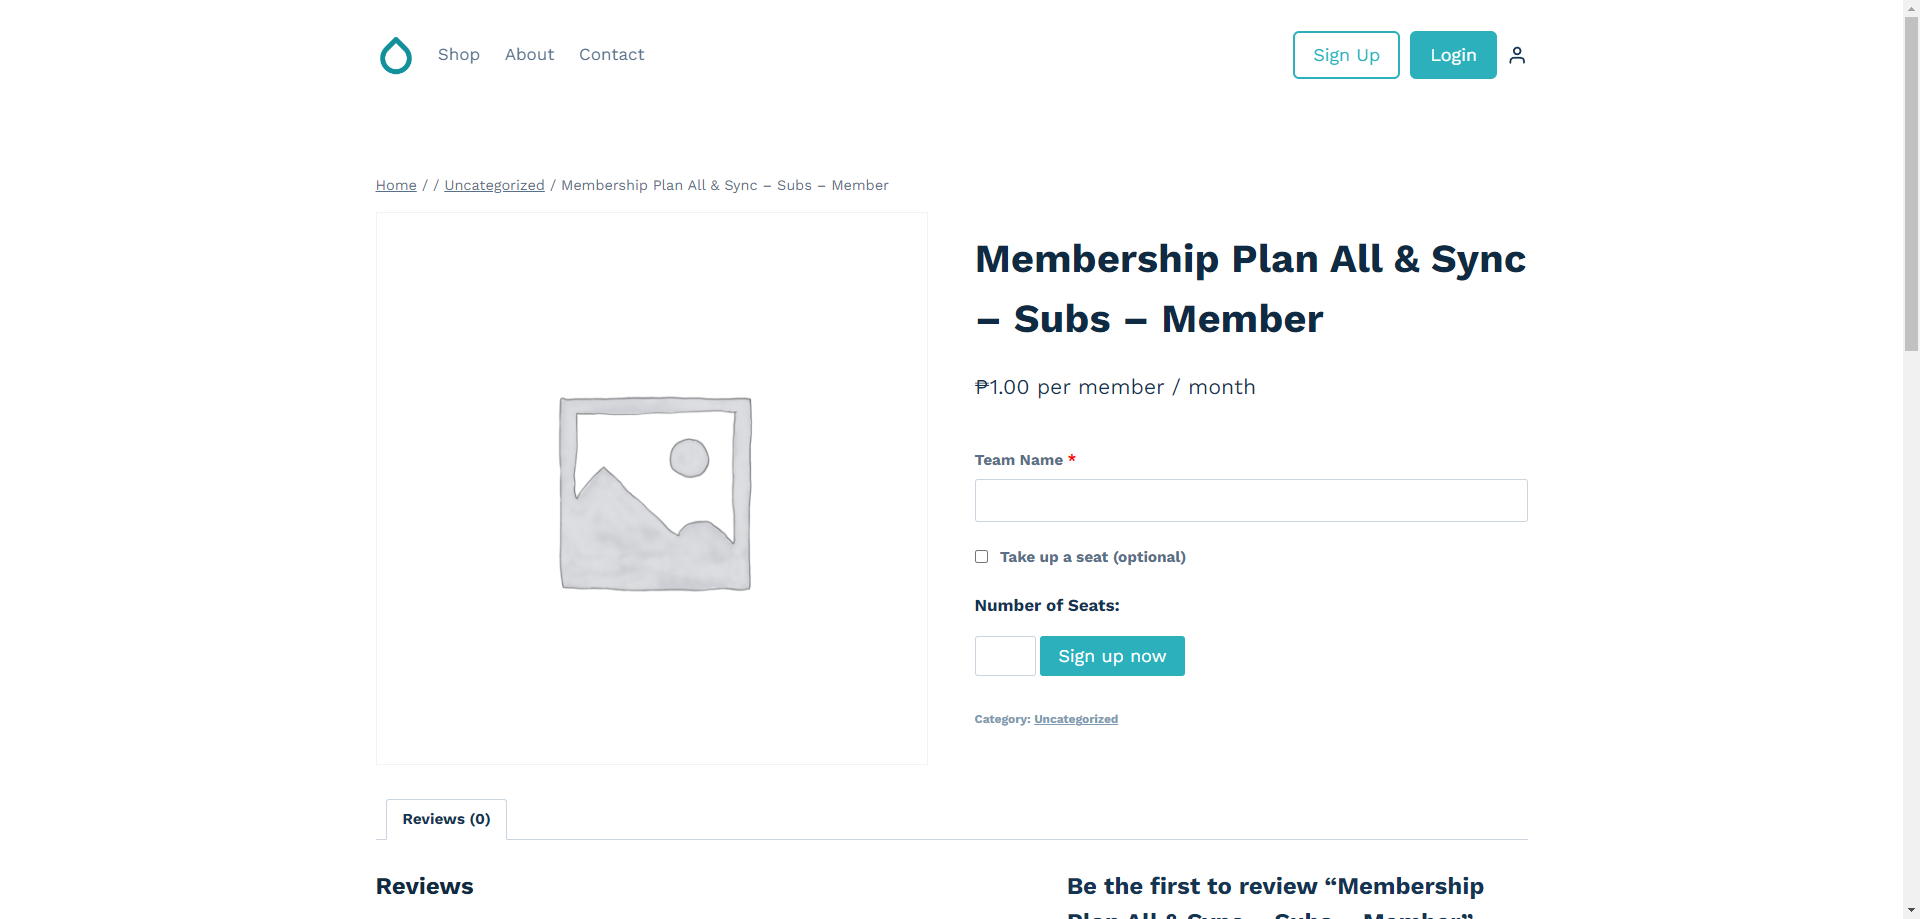
- Customer can will be redirected to the product page to set up the Team Name and the number of members. They also have a choice of taking up a seat.
- The product will now be added to Cart
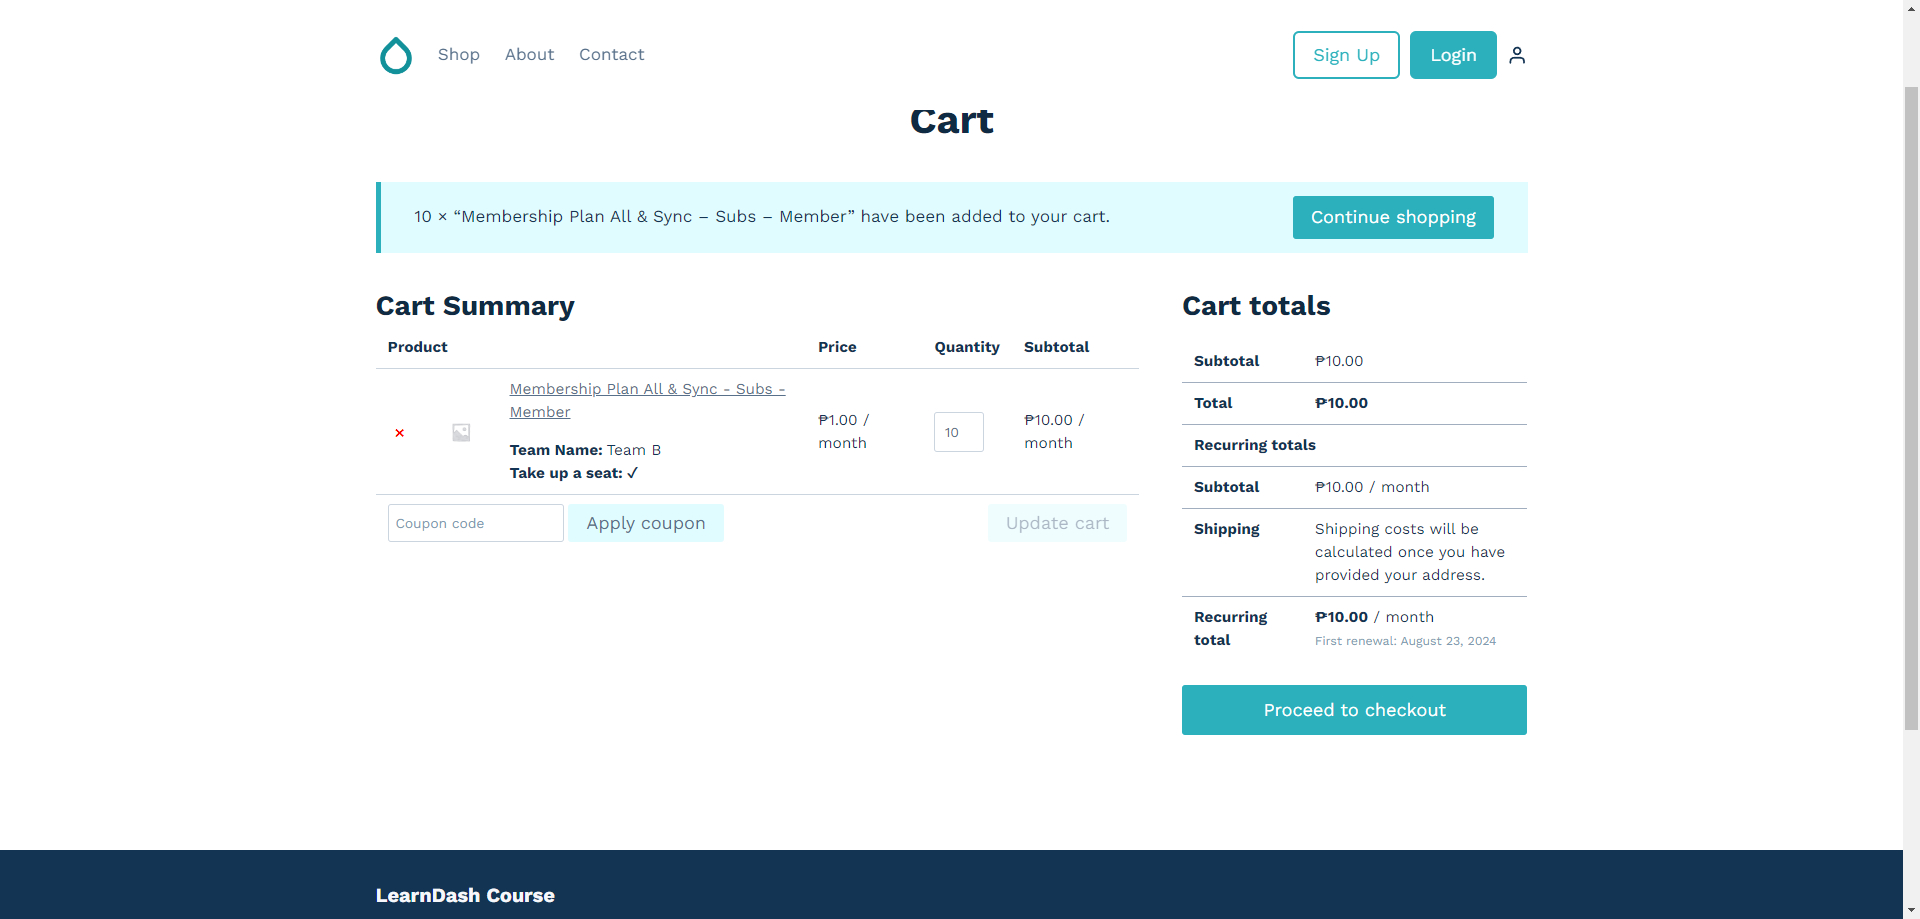
- Below shows how the cart differentiates when a seat is taken

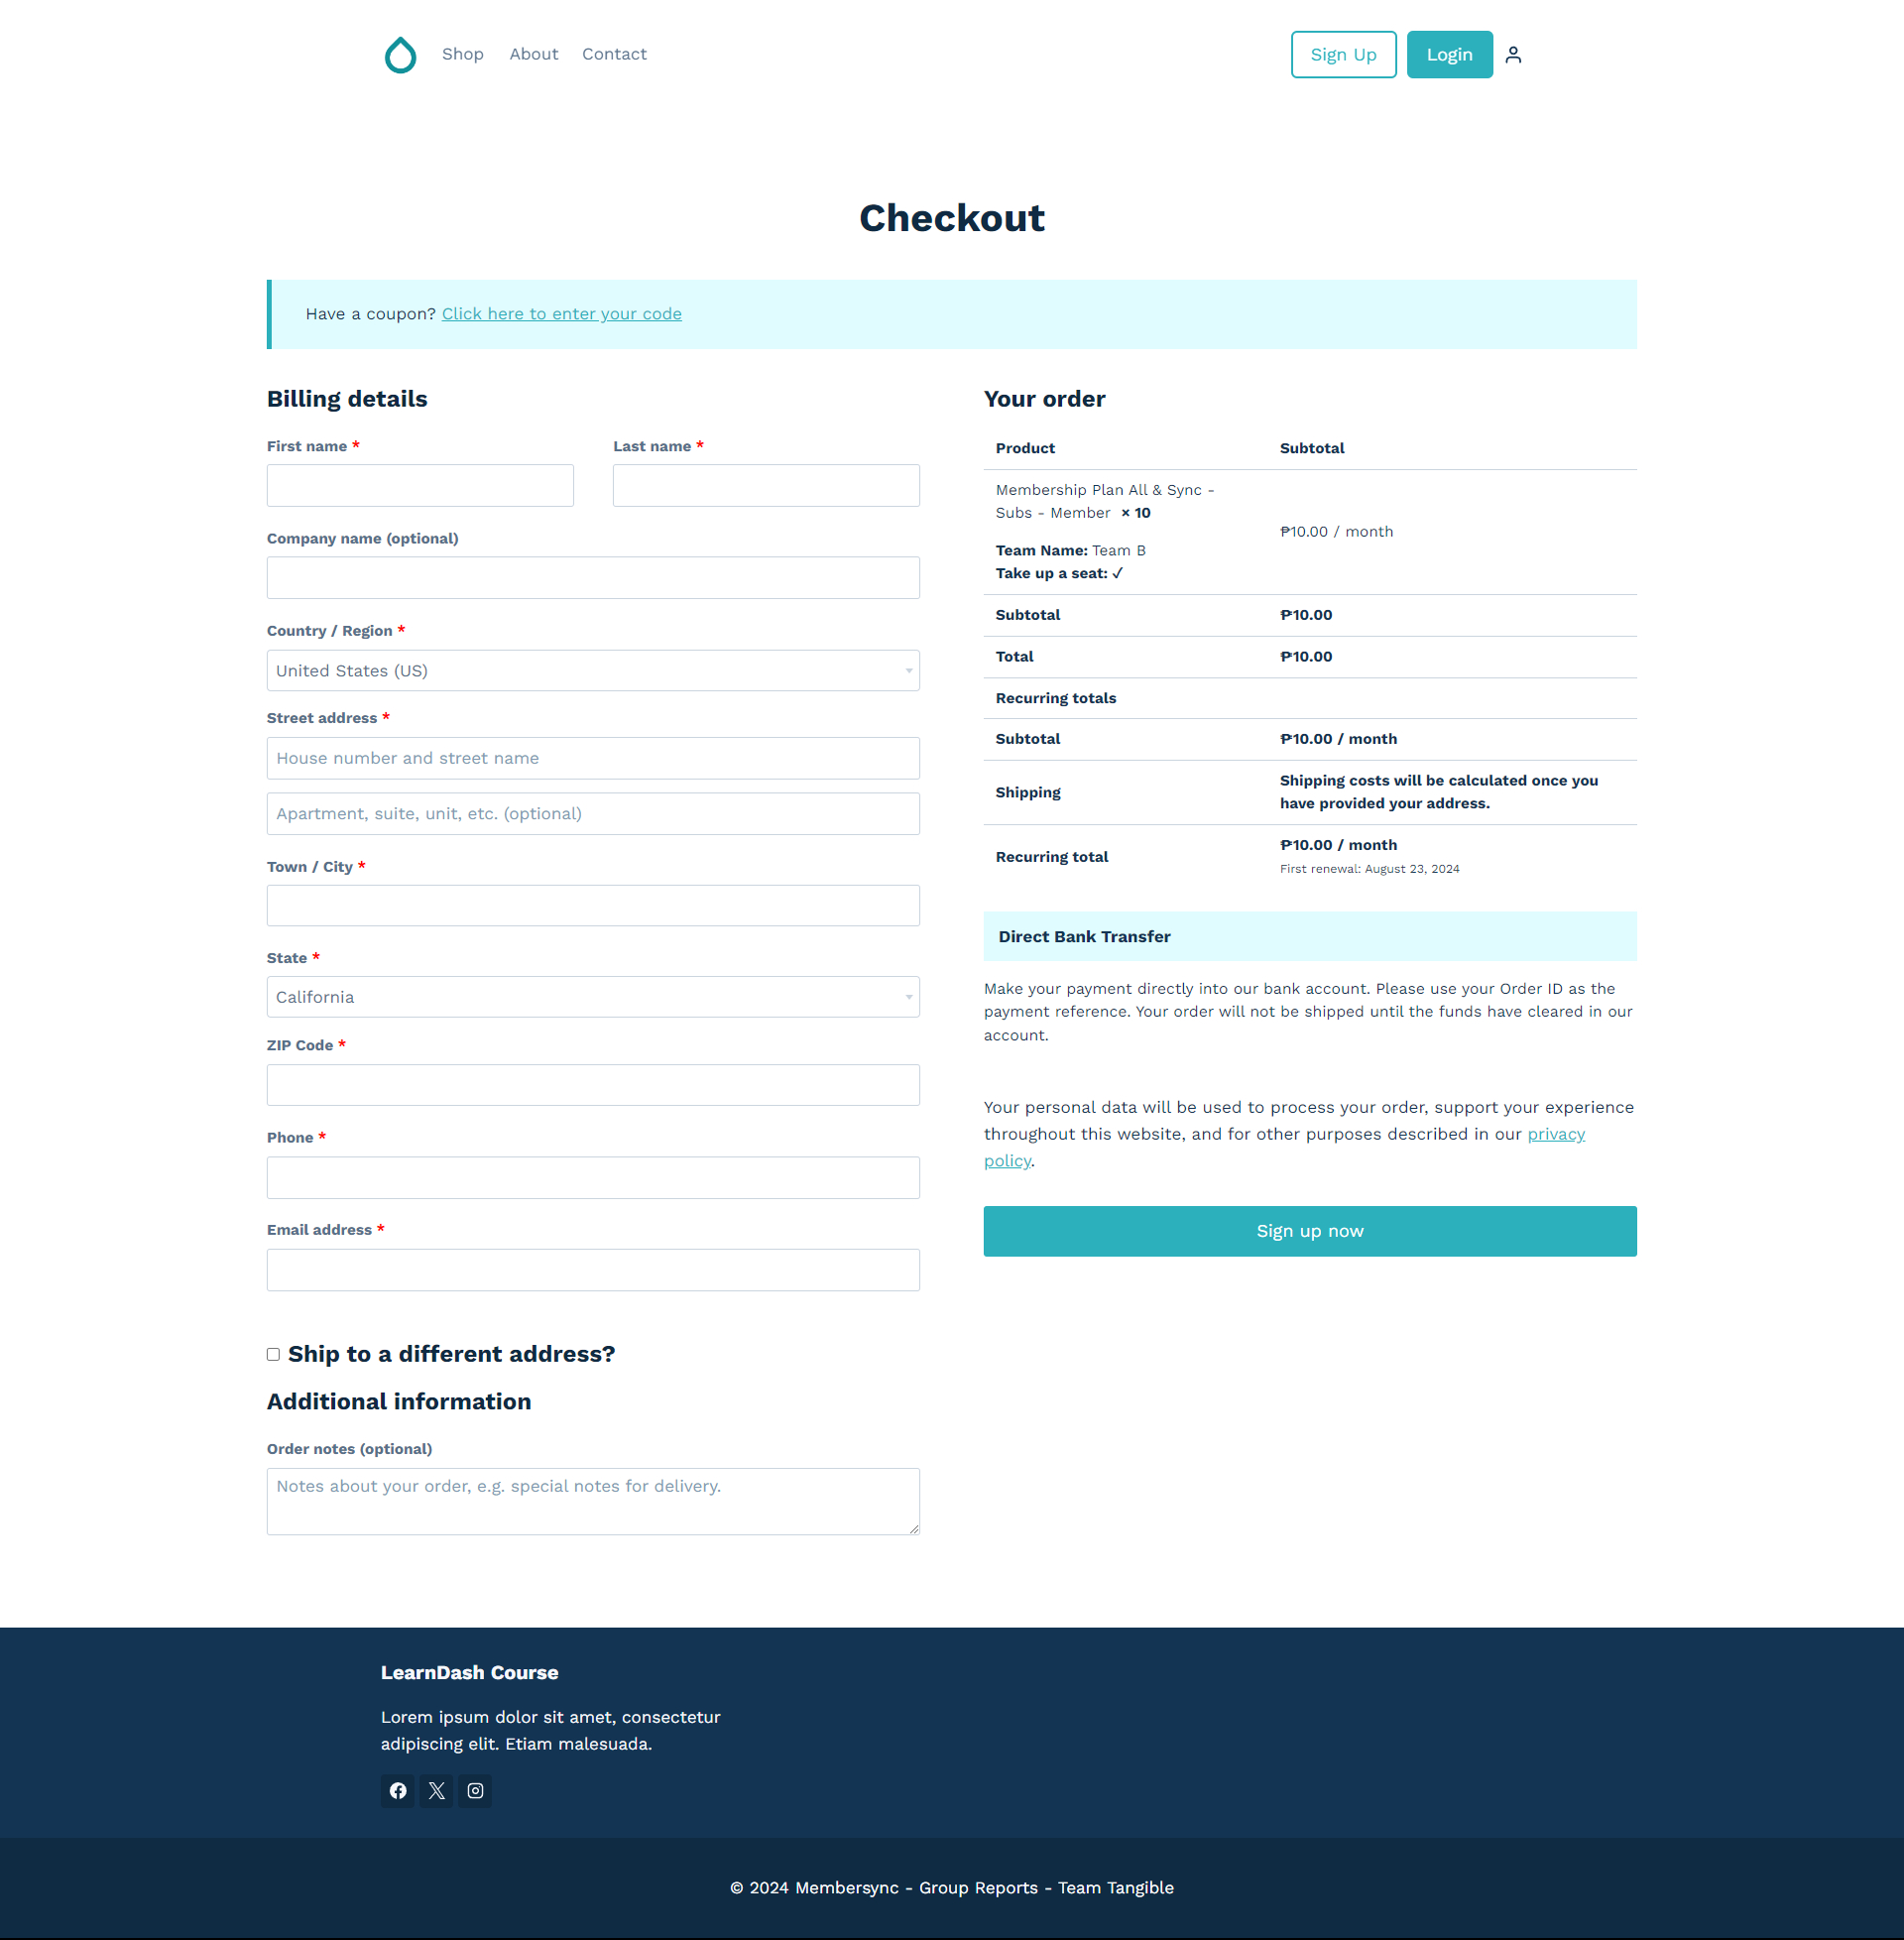
- And then the Check out page could be filled out by nessessary information
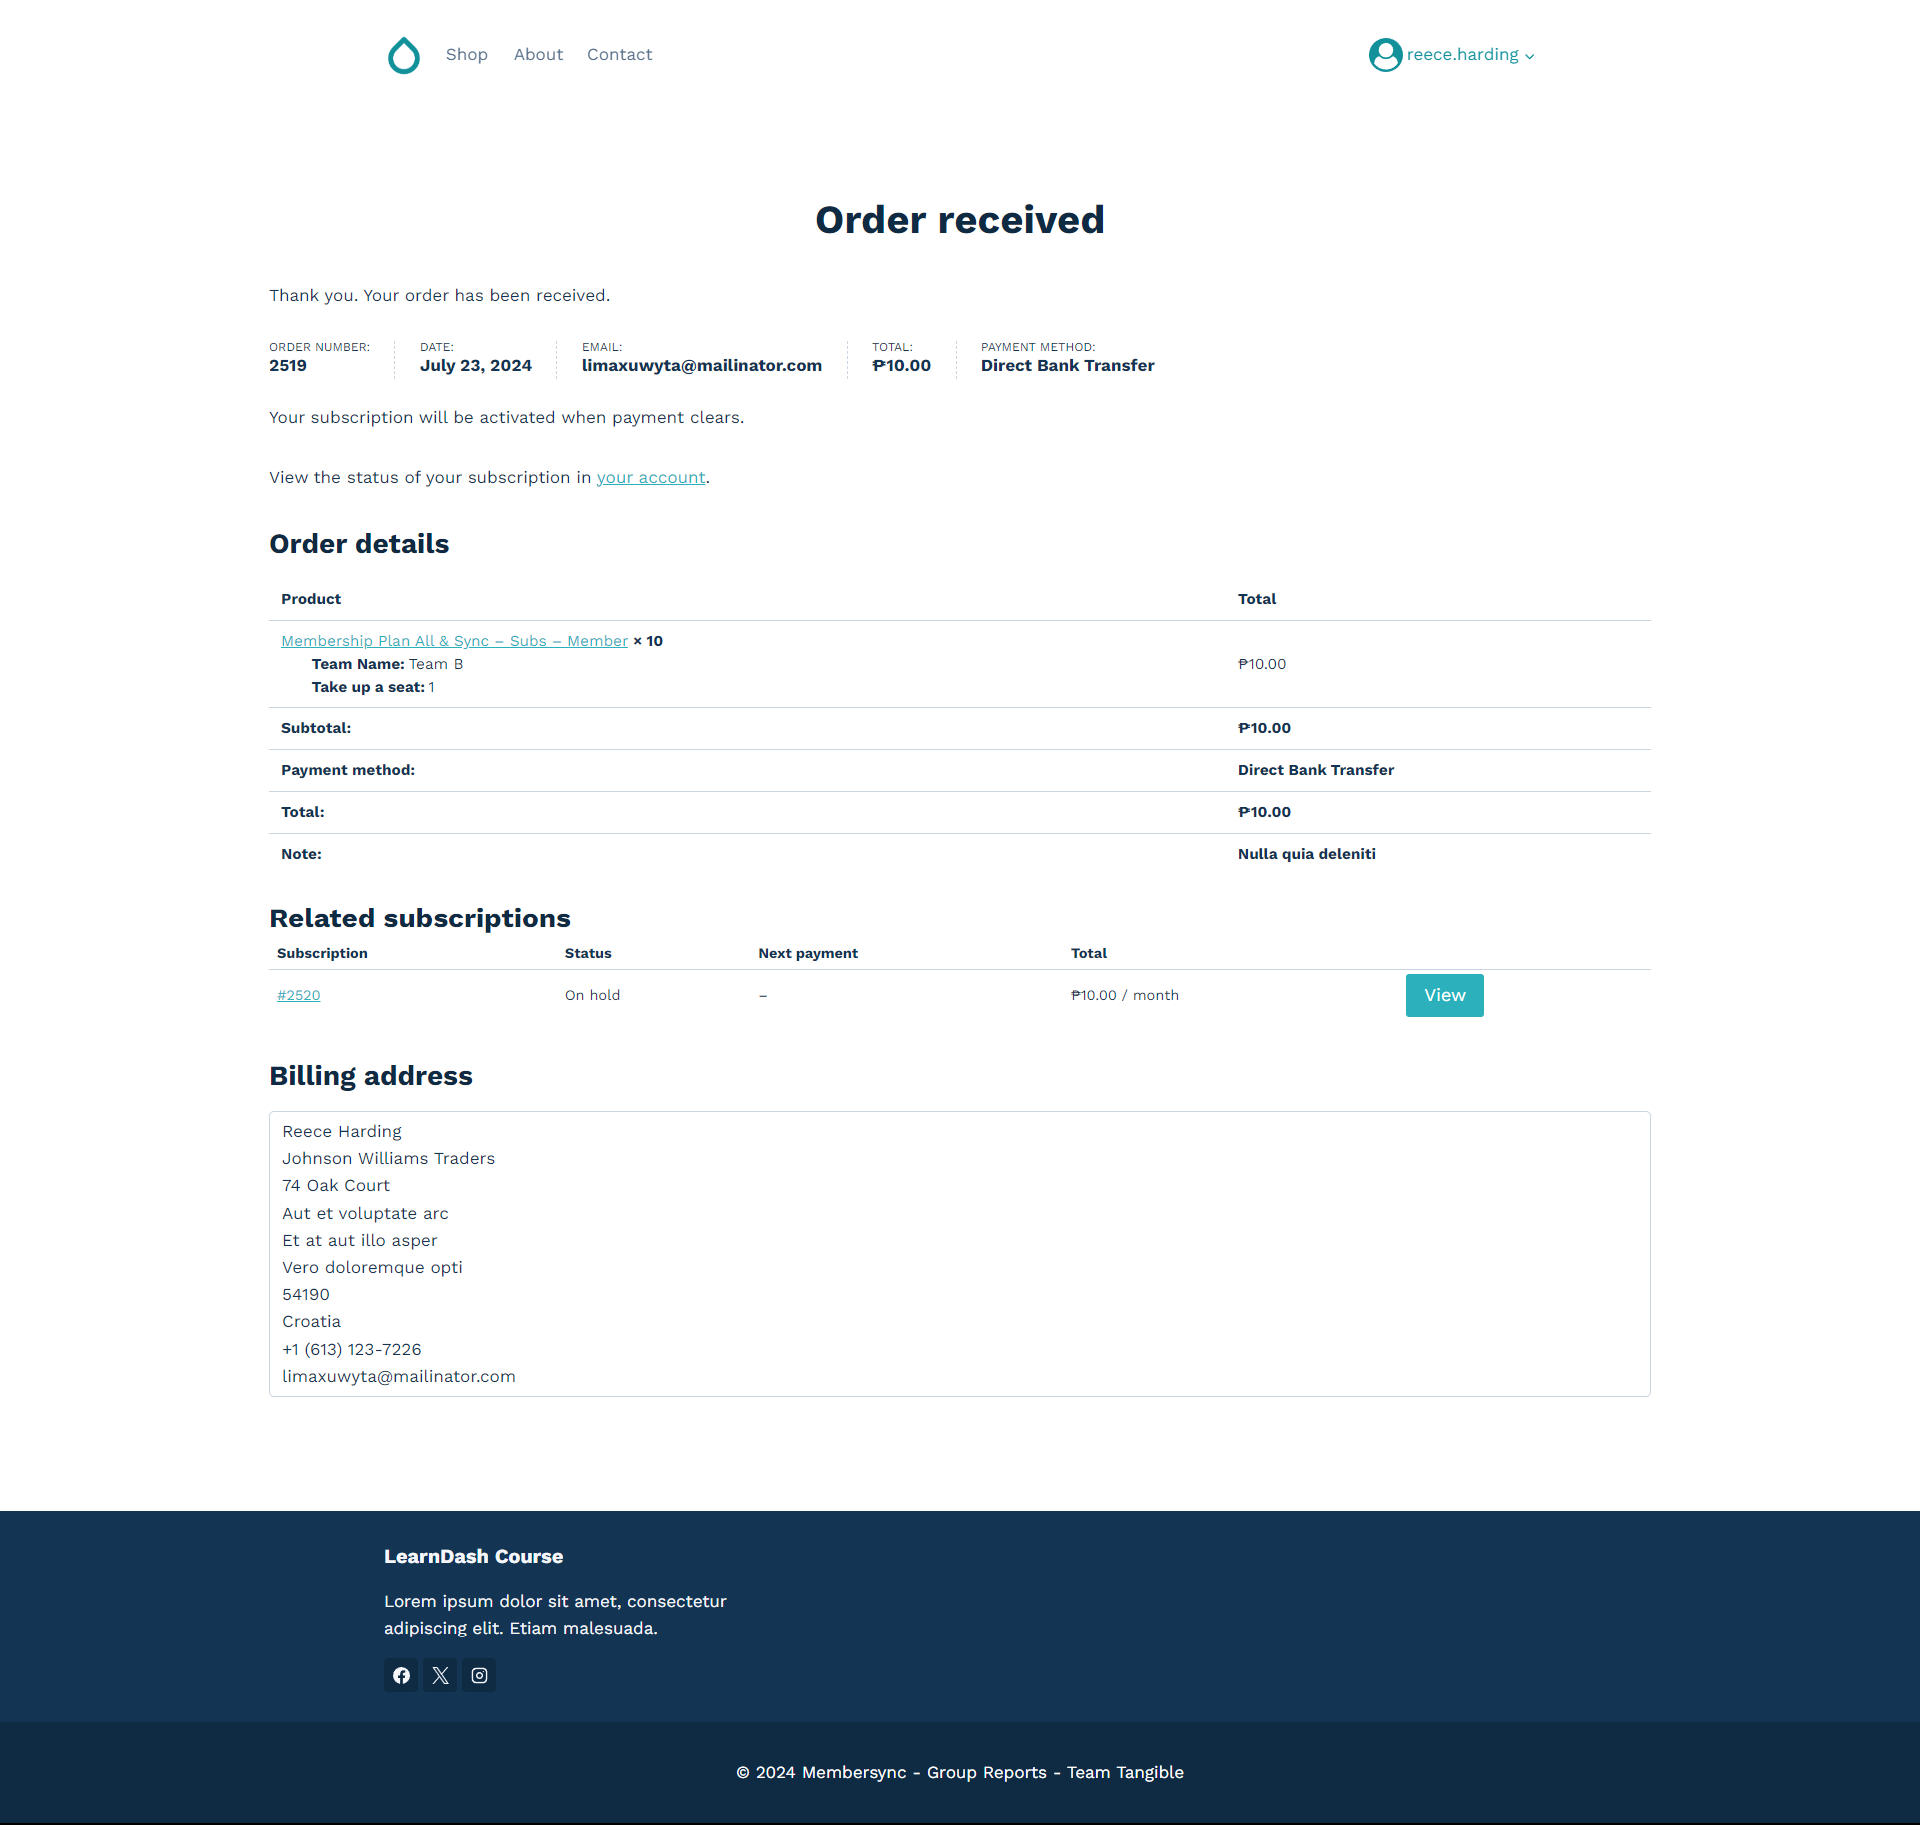
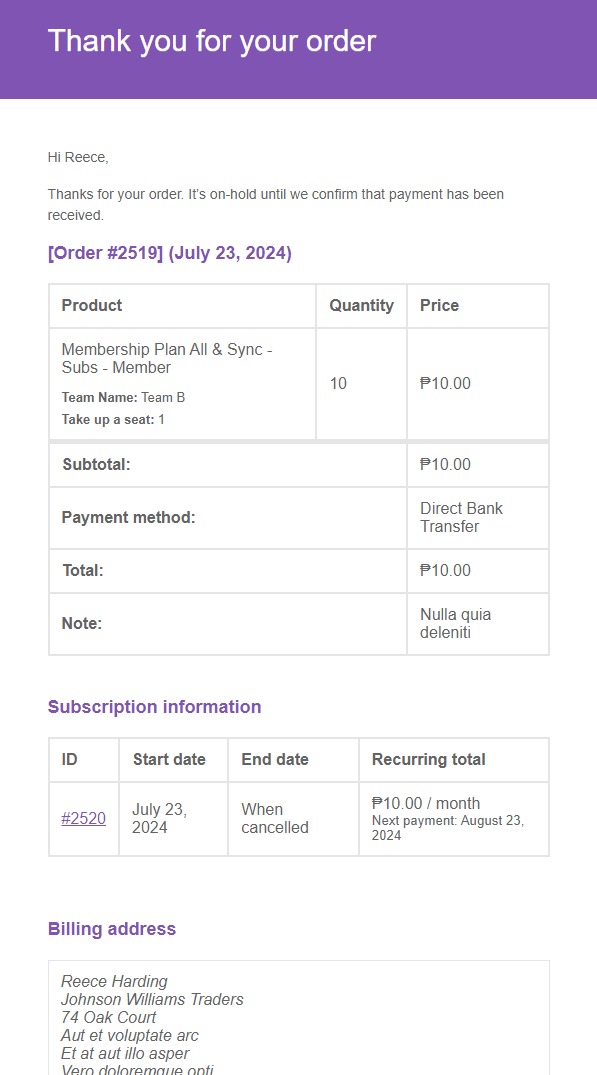
- The customer will the receive an Order Confirmation
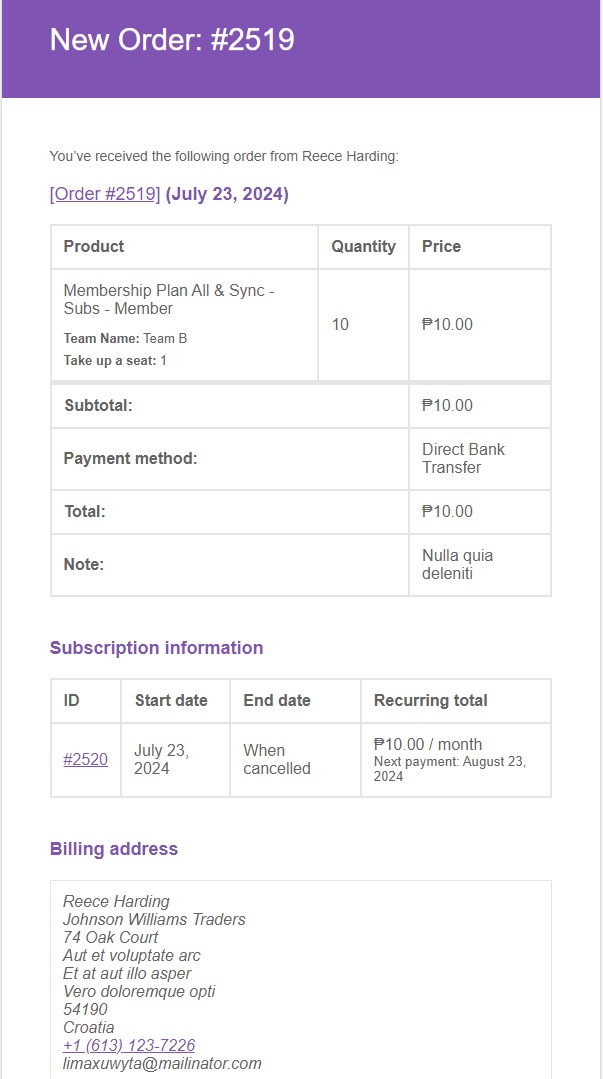
- Owner will receive a New Order email.
- The customer will the receive the following emails in any order
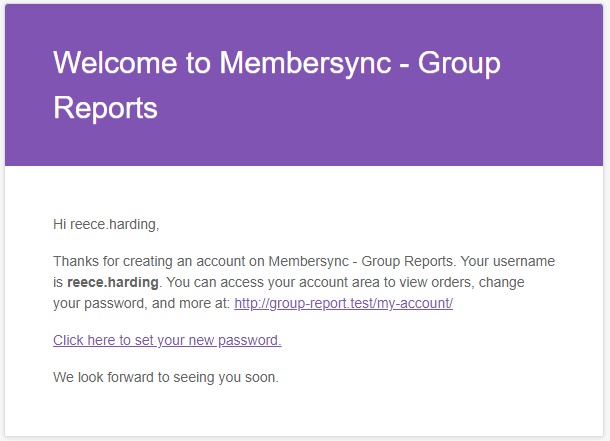
- The customer will the receive an Account Creation Email where they could set up their password and access their account
- The customer will the receive an Order Confirmation Email
- The customer will the receive an Account Creation Email where they could set up their password and access their account
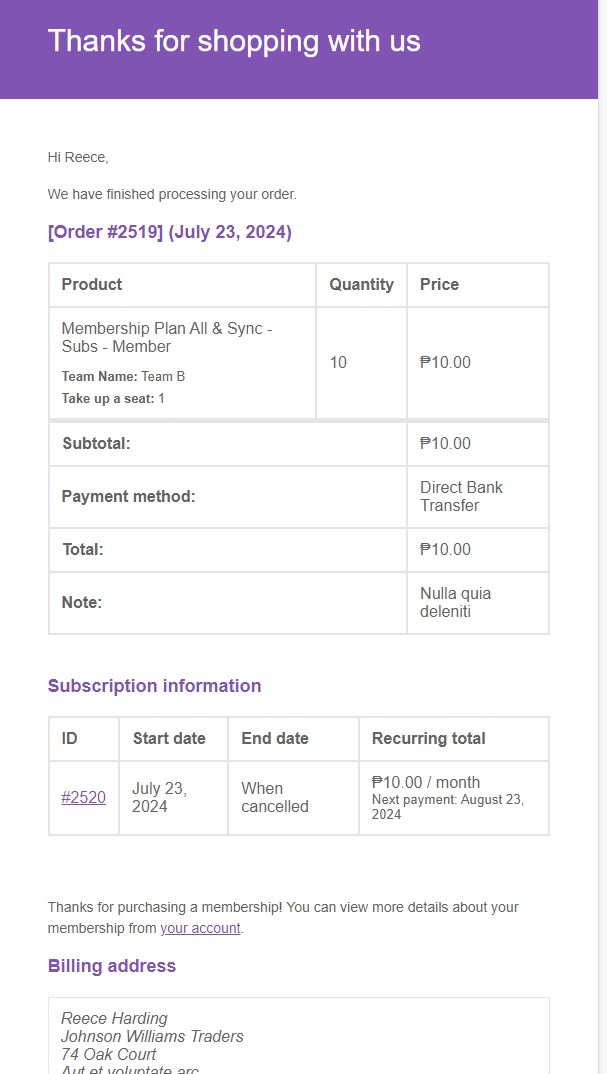
- Once the order has been completed, a customer can also receive an Order Completion Email
- The customer should now have access to the Group Dashboard.
Manual Creation of Team
- Go to a Woo > Teams > Add New Team
- Add Team Title
- Set Owner if not current user
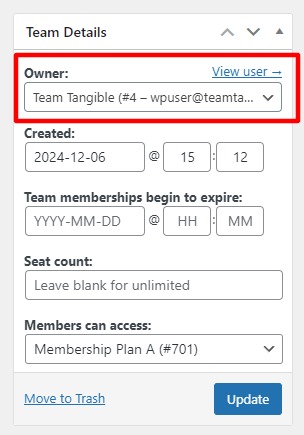
- Set the Seat Count if not the default number will be Unlimited
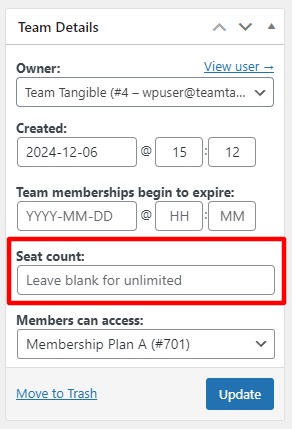
- Set Membership Plan that the Members can access when they are part of this Team
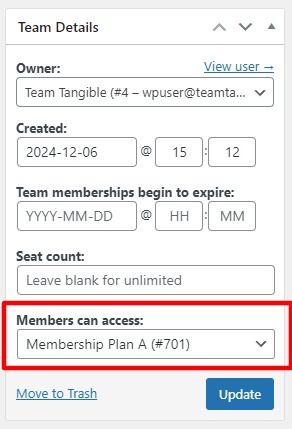
- Link a Product either Synced or Not. Woocomerce and Membership integration allows linking Products with Teams through the Billing Details.
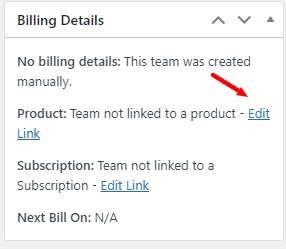
MemberSync elevates this by displaying the Synced Group Name that was created if the linked product's "Create Team-synced LearnDash Group" is enabled. More about this setting can be found on Product Documentation.

Unlinking the Learndash Group and MemberSync Team is possible by clicking the Unlink button but be aware that this is Irreversable and you will have to create a new team-synced group for the particular team if you want to restore this functionality so make sure you 100% sure.
